A style is a group of formatting settings stored under a single name. Using styles and style sets rather than formatting ad hoc has several advantages:
- The document looks professional and is easy to read.
- Styles provide consistency and can apply several formatting properties at one time.
- Heading styles can be used to create tables of contents and outlines.
- If you change the formatting properties of a style, all instances of the style are updated with the formatting changes.
Apply a Style
Word includes several built-in styles that cover most basic formatting needs in a document.
- Click in the paragraph or select the text you want to apply a style to.
- Click the Styles group dialog box launcher on the Home tab.
- Select a style from the Styles pane.
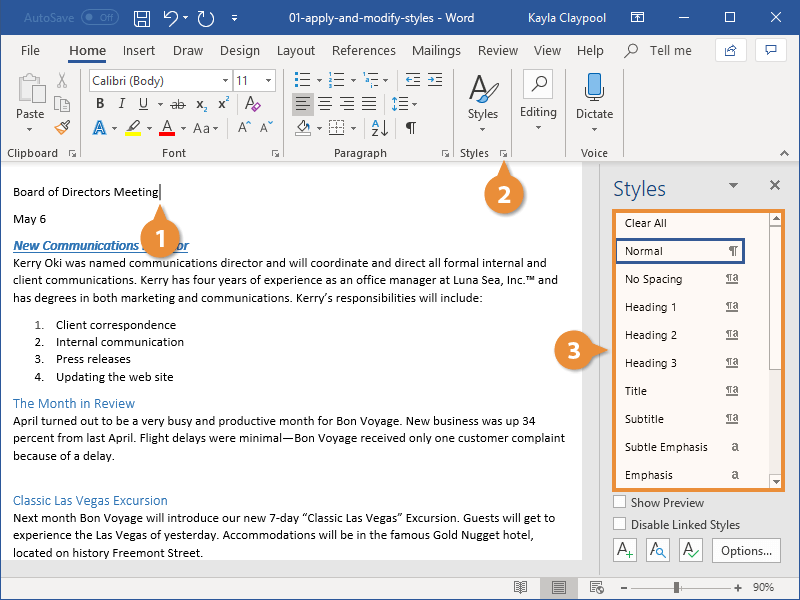
Alternatively, you can browse within the Styles gallery on the ribbon, which will also preview the formatting used in the style, but it's often easier to choose from all the available styles at once by clicking the dialog box launcher.
The style is applied to the text or paragraph.
Change Style Sets
Another advantage to using styles throughout your document is the ability to quickly change how those styles appear using Style Sets.
Style Sets will update the appearance of the built-in default styles. This way, you can format these elements at once instead of one by one.
- Click the Design tab.
- Open the Style Set gallery by clicking the gallery’s More button.
- Select a Style Set.
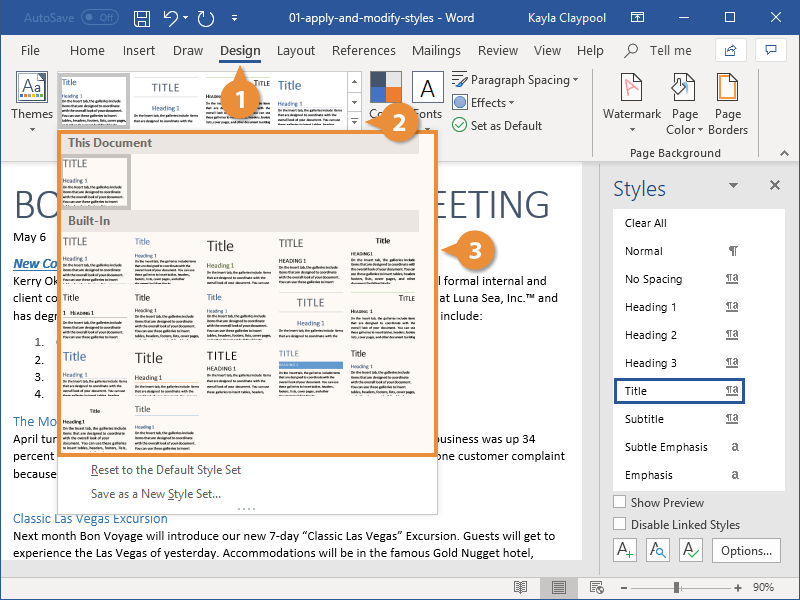
Thumbnails previewing the available Style Sets appear.
The new Style Set is applied, affecting all the default styles used in the document.
| Default Styles | |||
|---|---|---|---|
| Normal | The document’s main body text. Any text not using another style is set in Normal. | ||
| No Spacing | Normal text, with no additional spacing between paragraphs. | ||
| Heading 1, 2, 3 | Three levels of headings to use in your document, with outline levels automatically applied. | ||
| Title | A larger heading, useful for the main title of a document. | ||
| Subtitle, Subtitle Emphasis | Subtitle text, styled to complement the Title style, along with an additional style for emphasis. | ||
| Emphasis, Intense Emphasis, Strong | These styles are meant to emphasize text in a document. Emphasis usually italicizes, Strong usually bolds, and Intense Emphasis will usually do both. | ||
| Quote, Intense Quote | These styles will separate blocks of text to display a quote. | ||
| Subtle Reference, Intense Reference, Book Title | These styles are meant for text used to cite references and book titles. | ||
| List Paragraph | This style is automatically applied when text is used in a numbered or bulleted list. | ||
Create a Style
You can also create your own styles, saving a set of formatting to use easily in other places. If the need arises, creating a style is quick and easy. There are five different types of styles:
- Character: Includes any type of character formatting, such as font size, type, color, and effects. These styles can be applied to any selected text.
- Paragraph: Includes any type of paragraph formatting, such as paragraph, tab, border, and bullets and numbering formats. These styles will be applied to entire paragraphs.
- Linked: Uses a combination of character and paragraph formatting properties. These styles will be applied to entire paragraphs as well.
- Table: Provides a consistent style for all borders, shading, alignment and fonts in tables.
- List: Applies similar alignment, numbering or bullet characters and fonts to lists.
You can also base a style on another style. The new style will inherit the formatting of the original style, as well as any changes made to the original style later.
- Format the selected text the way you’d like it to appear in your style.
- Click the New Style button, in the Styles pane.
- Give the new style a name.
- Make any additional adjustments to the style formatting.
- Click OK.
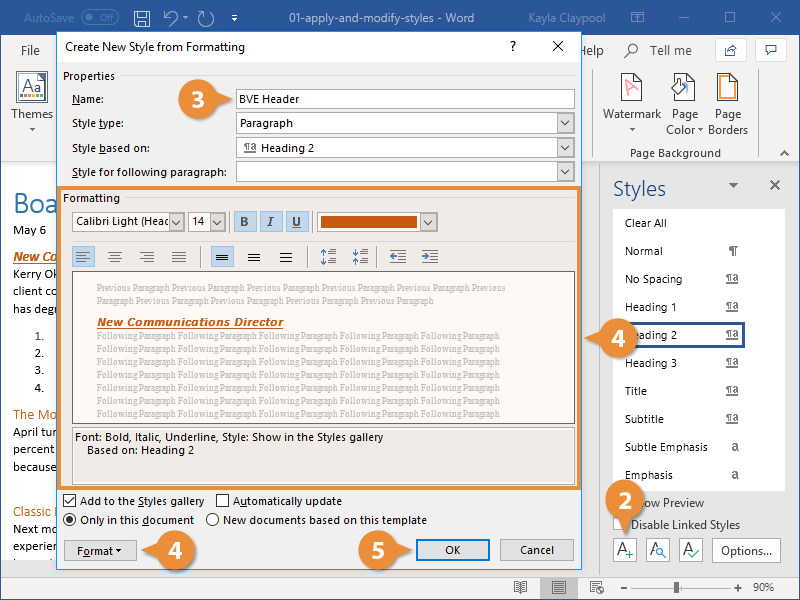
The differences between the selected text that was formatted and the style that it’s based on will be captured. The style that it’s based on will also be listed here.
Basic formatting commands are found right in this dialog box. To customize more advanced formatting, click the Format button and select a category from the menu.
The new style is created and can be applied to other text in the document.
Modify a Style
One of the benefits of using styles is that when you make a change to one, everything that's using the style is automatically updated.
- Change the formatting of some text using a style.
- Click that Style’s list arrow in the Styles pane.
- Select Update [style name] to Match Selection.
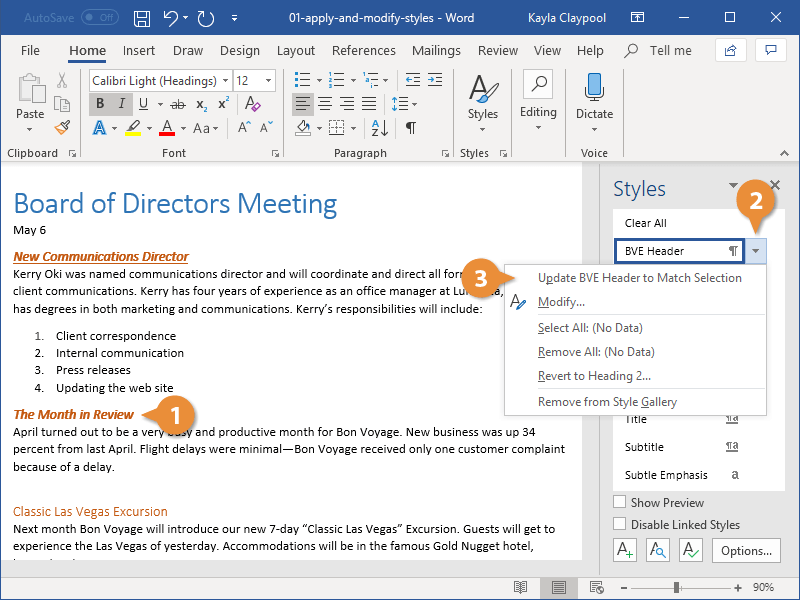
To delete a style, select Delete or Revert to [style name]. If there is no option to delete the style, reverting it back to the style it was based on effectively deletes the style.
The style is updated, and the changes you made are applied to all text that uses the style.
Only Show Styles in Use
There are a lot of built-in styles that don't get used and get in the way of the styles you're working with. You can change the Styles pane settings to show only the styles used in a document.
- Click Options in the Styles pane.
- Click the Select styles to show list arrow.
- Select In use.
- Click OK.
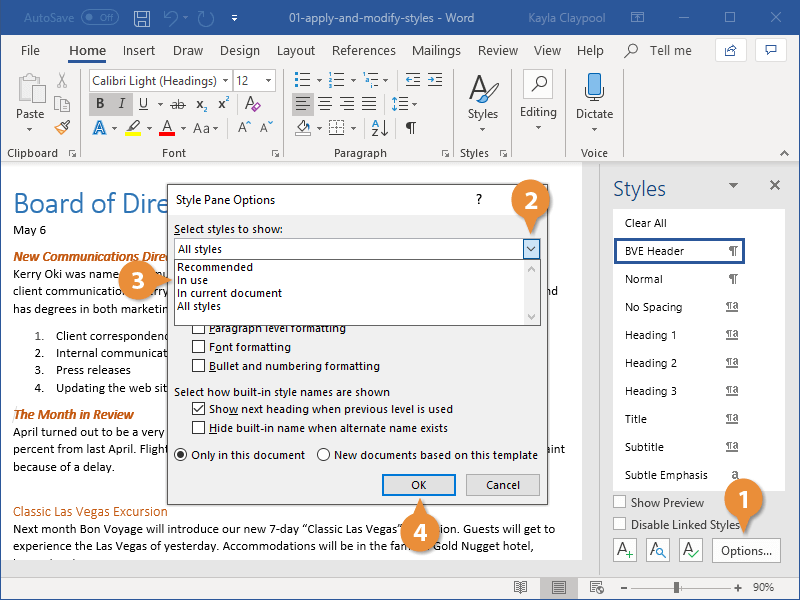
The Style Pane Options dialog box opens.
Now only the styles used in the document are shown in the Styles pane.
Table of Contents in Word

Word can generate a table of contents for your document based on the document’s heading styles. For example, paragraphs formatted with the Heading 1 style would be main headings in the table of contents, paragraphs formatted with the Heading 2 style would be subheadings, and so on.
Insert a Table of Contents
A table of contents can take up a lot of space. The best place for a table of contents is a blank page, near the beginning of a document.
- Click in the document where you want to insert a Table of Contents.
- Click the References tab on the ribbon.
- Click the Table of Contents button.
- Select a table of contents style.
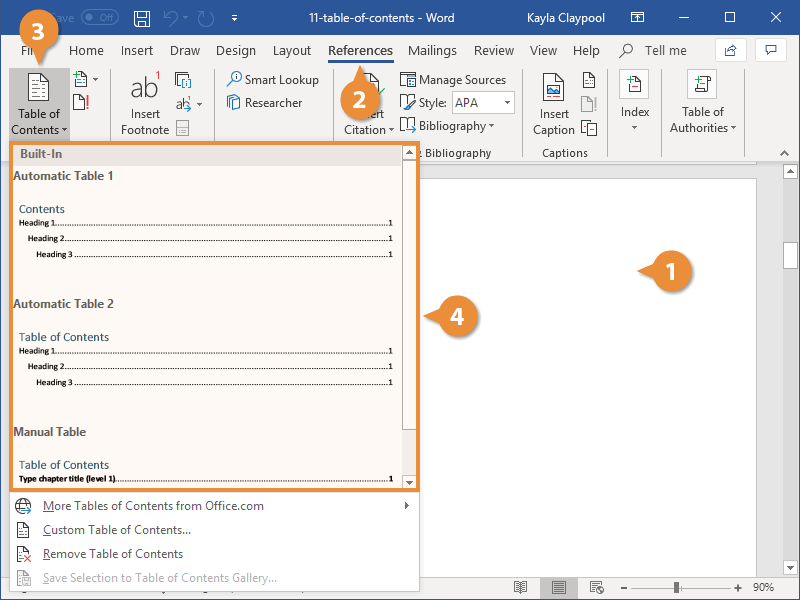
A gallery of built-in styles appears. You can select one of these, browse for more tables of contents on Office.com, or create a custom table of contents style.
The table of contents is inserted, listing all the headings in the document in outline order, as well as the page number that each heading appears on.
Customize a Table of Contents
If one of the built-in templates isn’t quite what you’re looking for, you can customize a table of contents.
- Click anywhere in the table of contents.
- Click the Table of Contents button.
- Select Custom Table of Contents.
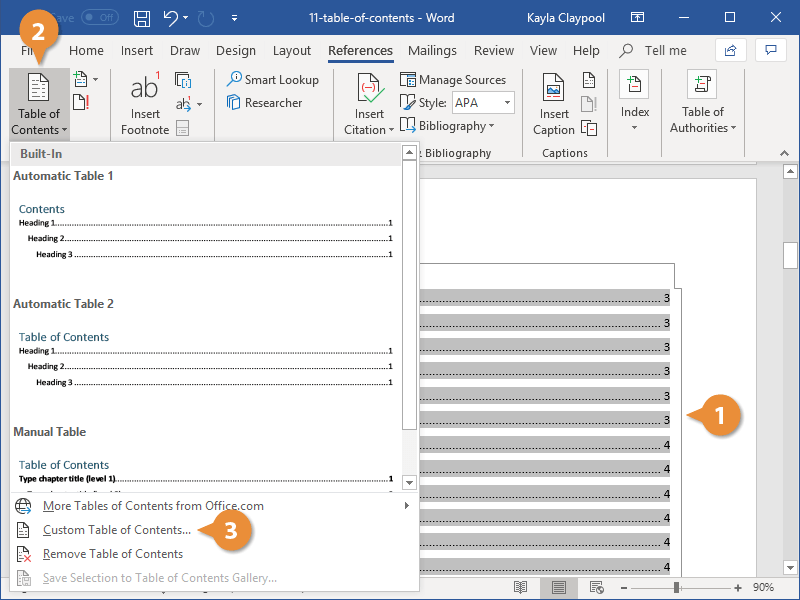
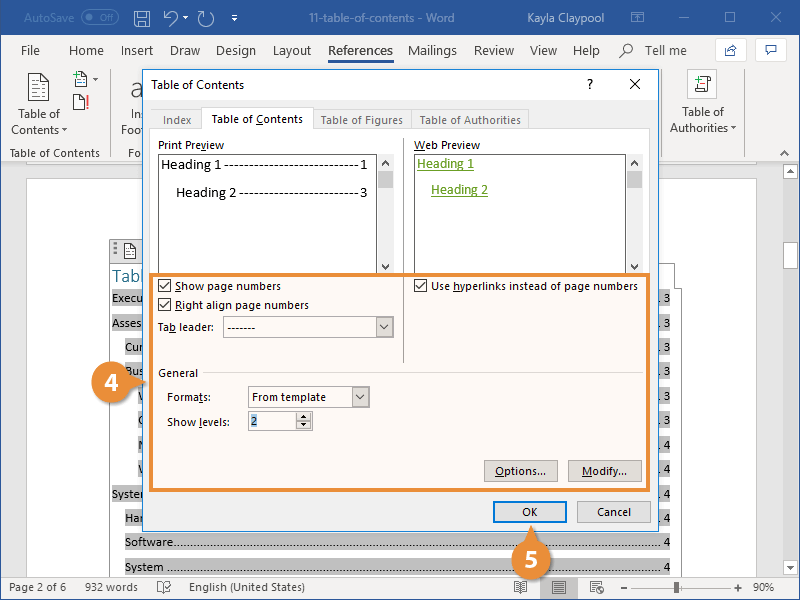
- Customize the appearance of the table of contents.
- Click OK.
- Click OK.
A dialog box opens, with options to customize the appearance and behavior of the table of contents.
You have the option to toggle whether page numbers appear and whether those page numbers are right-aligned, as well as specify what sort of tab leader appears between the heading text and the page number.
You can also select whether the table of contents uses the current document’s theme, or select another theme from the Formats list.
Finally, you can adjust how many outline levels deep the table of contents should go.
As you adjust the table of contents options, the previews update to show you how the table of contents will appear.
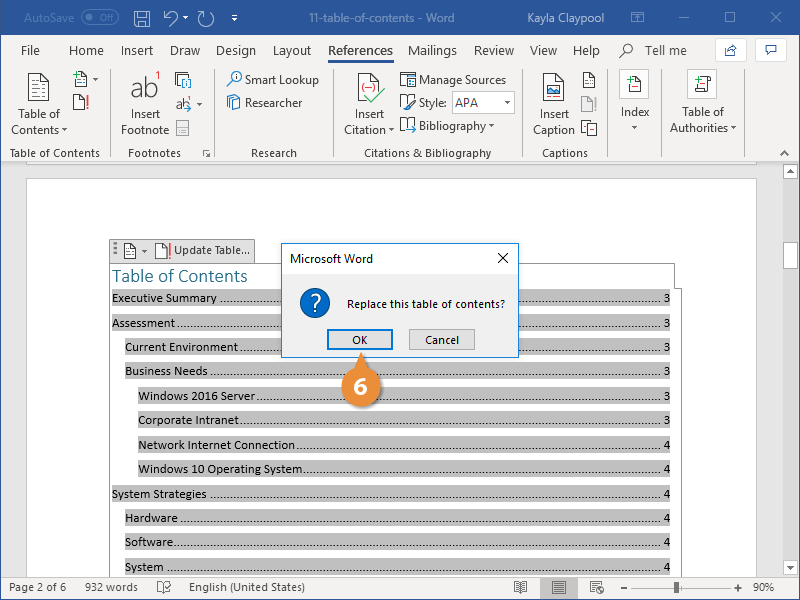
If you’re customizing an existing table of contents, you’ll need to confirm the changes that you’ve made.
The table of contents is replaced by the table that you customized.
Update a Table of Contents
If the content of the document changes, you will need to update the table of contents to include new or changed information.
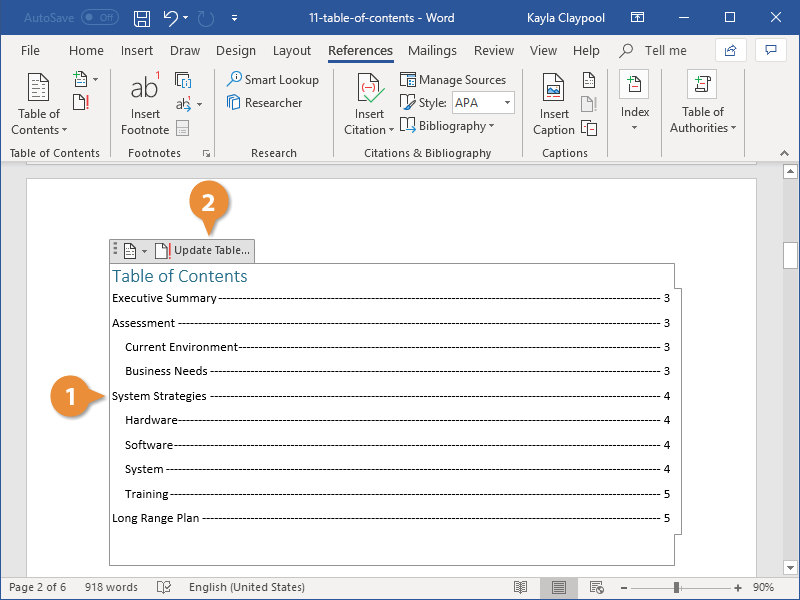
- Click inside the table of contents.
- Click Update Table button.
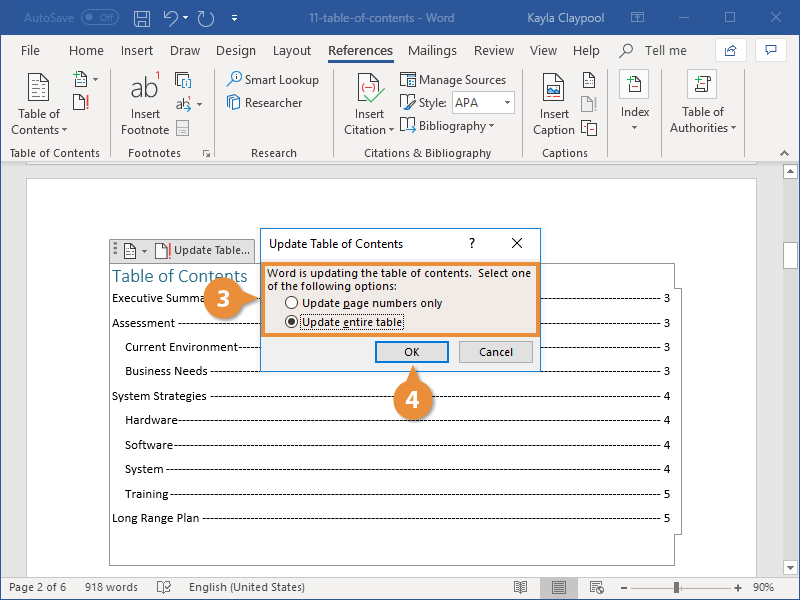
- Select what you want to update:
- Update page numbers only: This option will update page numbers, but not headings. Use this option if you’ve added text to sections, but haven’t added new headings or reordered existing ones.
- Update entire table: This option will update both headings and page numbers. Use this option if you’ve added new headings or reordered existing ones.
- Click OK
When the table of contents is selected, tabs will appear above it with options to change or update the table.
A dialog box will open, asking how you want to update the table.
The table of contents is updated to reflect the changes in the document.