Tables are very useful tools when creating and formatting documents. For example, with a table you can:
- Align Text, Numbers, and Graphics: Many people prefer to use tables for alignment instead of tab stops because text can wrap to multiple lines in a table.
- Create a Form: You can use tables to store lists of telephone numbers, clients, and employee rosters.
- Share Information: You can use tables to share information between programs. For example, you can copy and paste a table’s information into a Microsoft Excel worksheet or Access database.
- Create a Publication: Tables make it easier to create calendars, brochures, business cards, and many other publications.
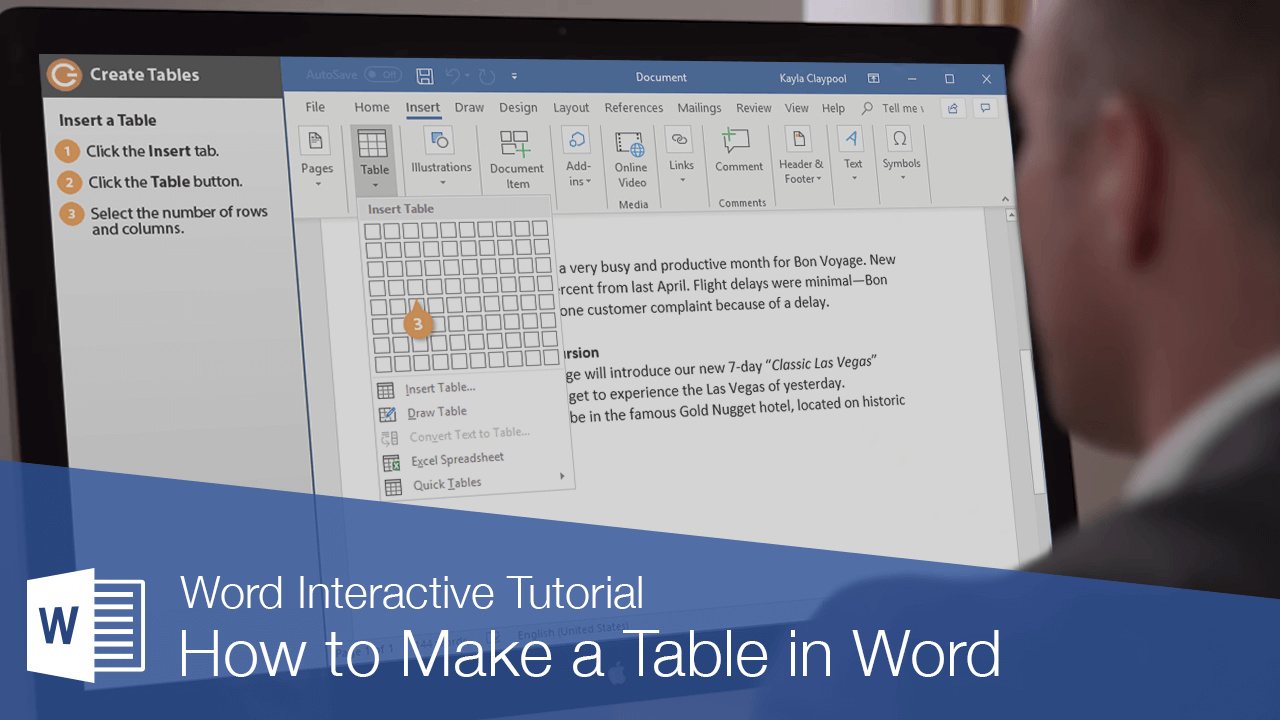
Insert a Table
To create a table, you must first determine how many columns (which run up and down) and rows (which run left to right) you want to appear in your table. Cells are small, rectangular boxes where the rows and columns intersect. The number of columns and rows determines the number of cells in a table.
- Click the Insert tab.
- Click the Table button.
- Use the grid to select how many columns and rows you’d like.
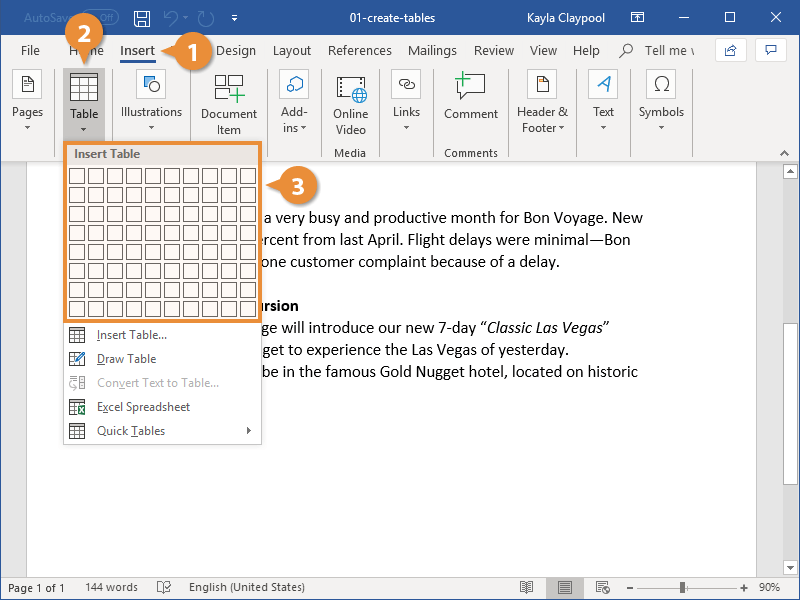
- Enter your content into your newly created table.
The table with the specified number of rows and columns is inserted.
You can use the arrow keys to navigate from cell to cell as you type. You can also press the Tab key to move to the next cell.
Select Cells
You can select a single cell in a table, or you can select multiple cells, entire rows or columns, or the entire table.
- Select a single cell: Click in the lower-left corner of a cell, when the cursor changes to an arrow
 . Click and drag to select multiple cells. You can also triple-click a cell, or place your text cursor within a cell, click the Select button on the Table Tools Layout tab and choose Select Cell from the menu.
 - Select a row: Click to the left of the table row, just outside of the table itself. You can also place your text cursor within a cell, click the Select button on the Table Tools Layout tab and choose Select Row from the menu.
- Select a column: Click above a column, when the cursor changes to an arrow
 . You can also place your text cursor within a cell, click the Select button on the Table Tools Layout tab and choose Select Column from the menu.
 - Select an entire table: Click the table selector
 button in the upper-left corner of a table. You can also place your text cursor within a cell, click the Select button on the Table Tools Layout tab and choose Select Table from the menu.
Add a Row or Column
You can add more columns and rows to a table after you’ve inserted it. This way, you’re not trapped using a fixed structure if you need to add more data later.
- Select a cell in a row or column adjacent to where you want the new row or column inserted.
- Click the Layout tab in the Table Tools ribbon group.
- Click one of the Insert buttons in the Rows & Columns group.
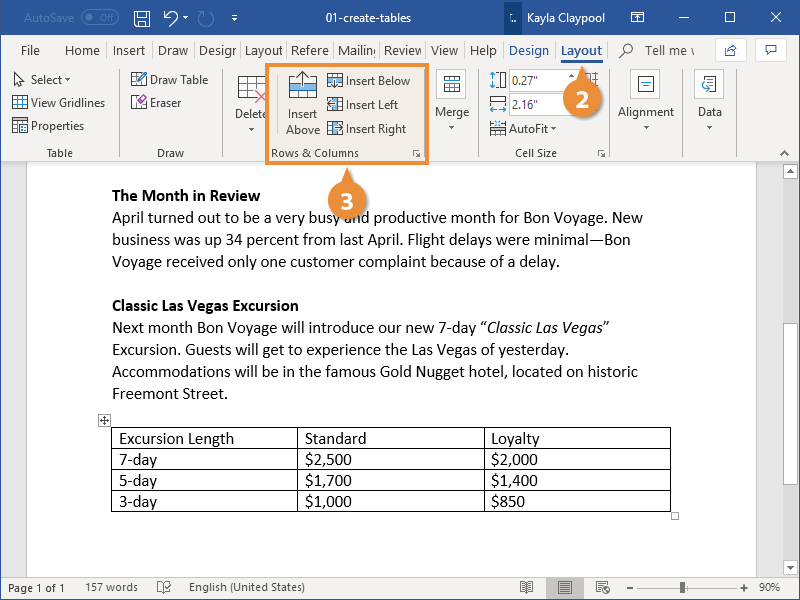
You can insert a row above or below the selected cell’s row, or a column to the left or right of the selected cell’s column.
Hover your mouse above the line between columns, or to the left of the line between rows, and click the + button that appears to quickly add a new column or row.
Delete a Row or Column
You can delete rows and columns that you don’t want, in case you made a table that was bigger than you needed.
- Select a cell in a row or column you want to delete.
- Click the Delete button on the Layout tab (in the Table Tools ribbon group).
- Select one of the options.
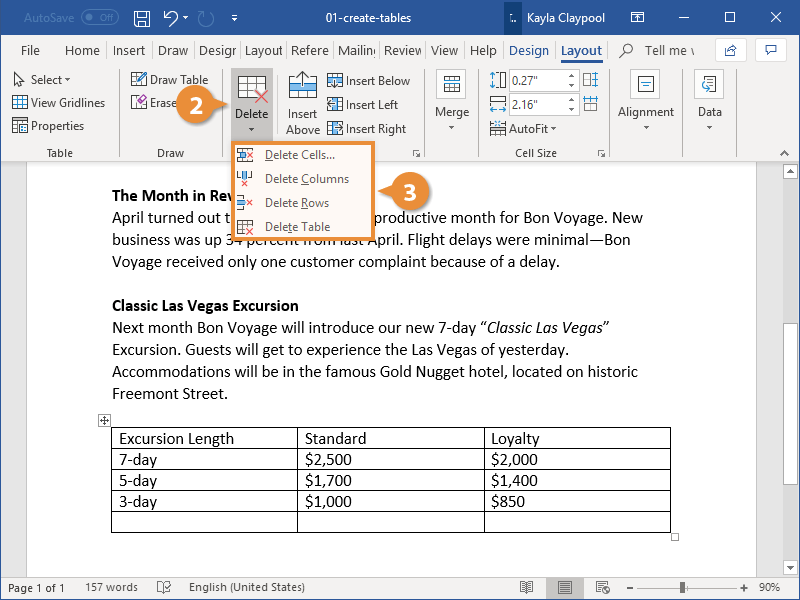
Here, you have the option to delete the specific cell, the column or row the selected cell is in, or the entire table.
If you decide to delete only the selected cell, you can choose how to move the rest of the cells around to fill the gap. You can shift the rest of the row’s cells to the left or shift the rest of the column’s cells up.
When you first create a table, all the rows and columns will start the same size. As you add information to the table, you’ll likely find that some rows and columns will need to be bigger than others. You can adjust the size of rows and columns manually, or automatically resize them.
Manually Resize
The most direct way to manually adjust the width of a column or the height of a row is by directly adjusting them with the mouse.
- Click and drag a cell border until the row or column is the size you need.
The columns or rows adjust to the new size.
Distribute Rows and Columns
If your table has columns and rows of different sizes, you can distribute them so that they’re all the same width or height.
- Click the Layout tab in the Table Tools ribbon group.
- Click the Distribute Columns button or the Distribute Rows button.
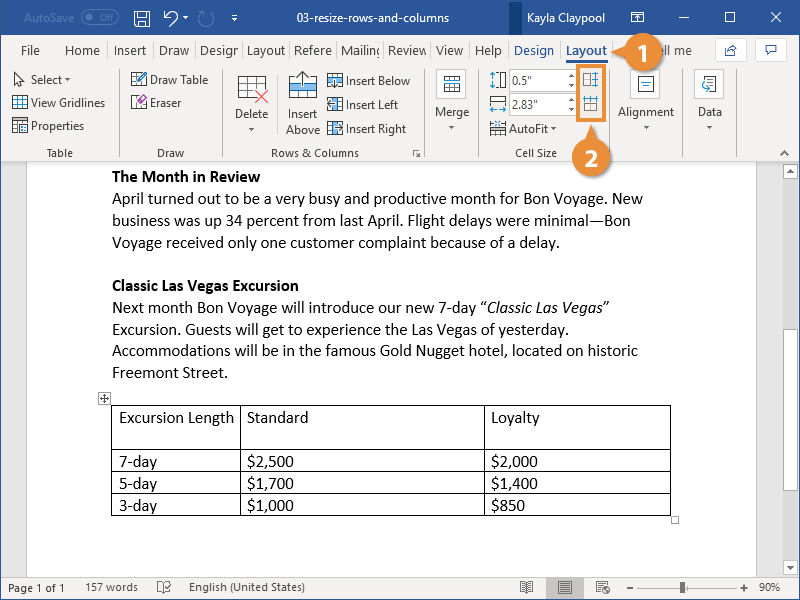
The columns or rows in the table are all set to the same width or height.
Automatically Resize
You can also have rows and columns resize automatically to fit the table’s contents.
- Click the AutoFit button.
- AutoFit Contents will automatically resize the rows and columns to fit the content in the cells. The table will automatically adjust to new content, resizing the columns and rows as you type.
- AutoFit Window will resize the table to fill the available space on the page.
- Fixed Column Width will stop the columns and rows from resizing as new content is added if you’ve previously enabled an AutoFit setting.
- Select an AutoFit option.
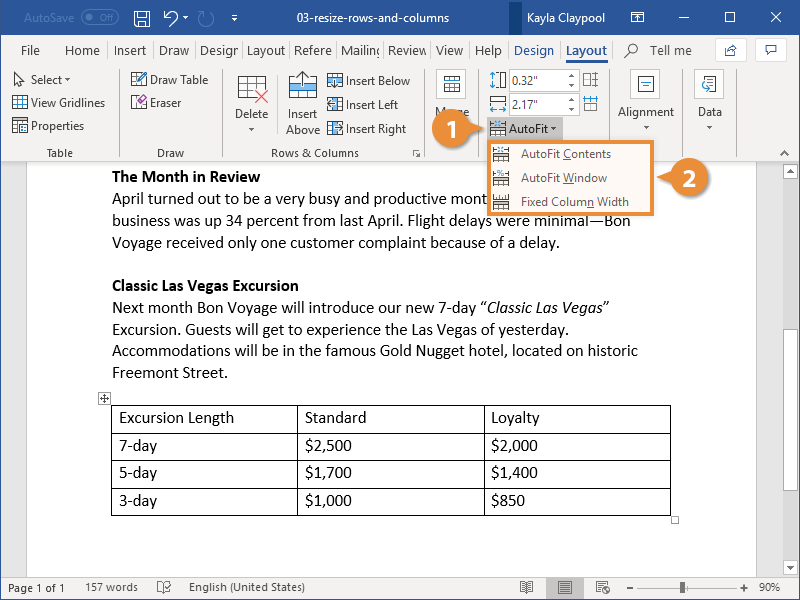
The AutoFit menu has three options:
The table’s rows and columns are resized according to the option you selected.
Table Styles and Alignment
Apply a Table Style
- Click inside the table.
- Click the Design tab in the Table Tools ribbon group.
- (Optional) Click the Table Styles More button to see all the available styles.
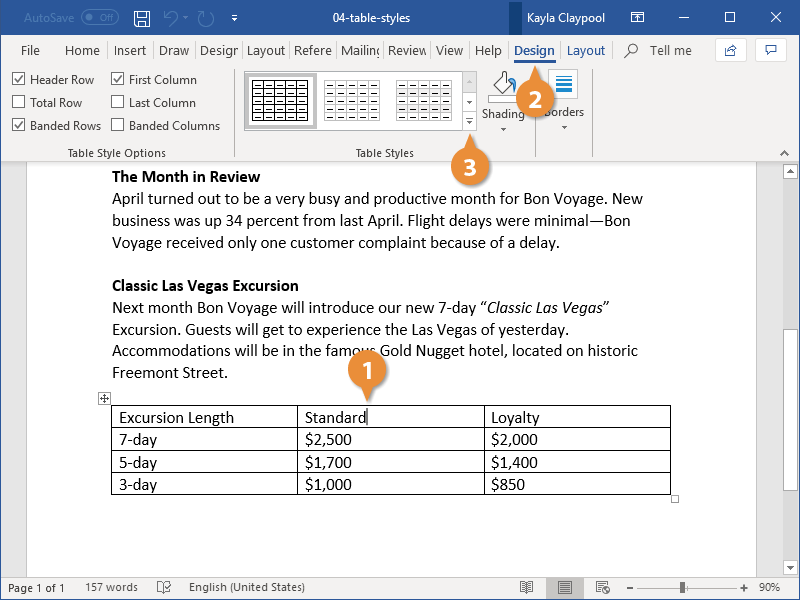
- Select a style.
The Table Styles group will show a few table styles, but to see the rest, you’ll need to expand the gallery.
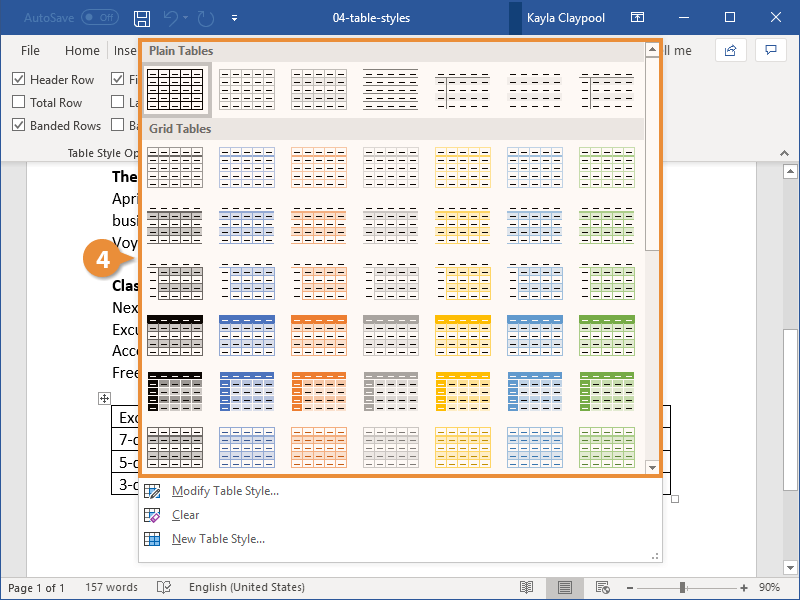
The style is applied to the table, changing the borders, shading, and colors.
You could create a new style by selecting New Table Style or modify an existing one by selecting Modify Table Style and choosing which formatting you’d like.
To remove a Table Style, select Clear from the More Table Styles menu.
Adjust Style Options
You can further customize a table style by changing the table style options.
- Use the check boxes in the Table Style Options group to toggle the following settings:
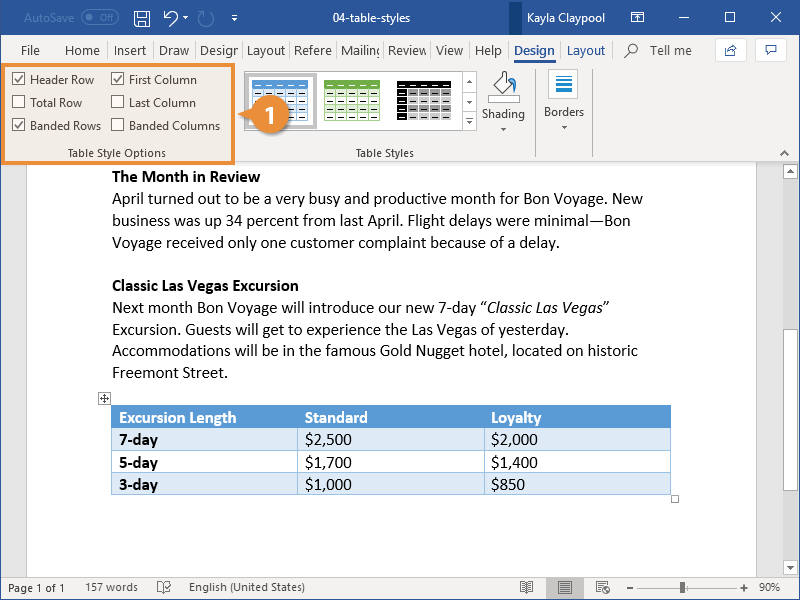
- Header Row will apply special formatting to the first row of the table. This special formatting can include font effects, or font, background, and border color.
- First Column will apply special formatting to the first column.
- Total Row will add special formatting to the final row of a table, designed to summarize the rows above it.
- Last Column will apply special formatting to the last column to summarize the earlier columns.
- Banded Rows will alternate the background color of rows.
- Banded Columns will alternate the background color of columns.
The special formatting applied by each option is controlled by the style that’s been applied to the table. You can customize these formatting options by clicking the Table Styles More button, then selecting Modify Table Style.
Text Alignment
You can control how text is aligned within a table cell, just like you’d align text on the page.
- Select the cell or cells you want to align.
- Click the Layout tab in the Table Tools ribbon group.
- Expand the Alignment group, if necessary.
- Select an alignment option.
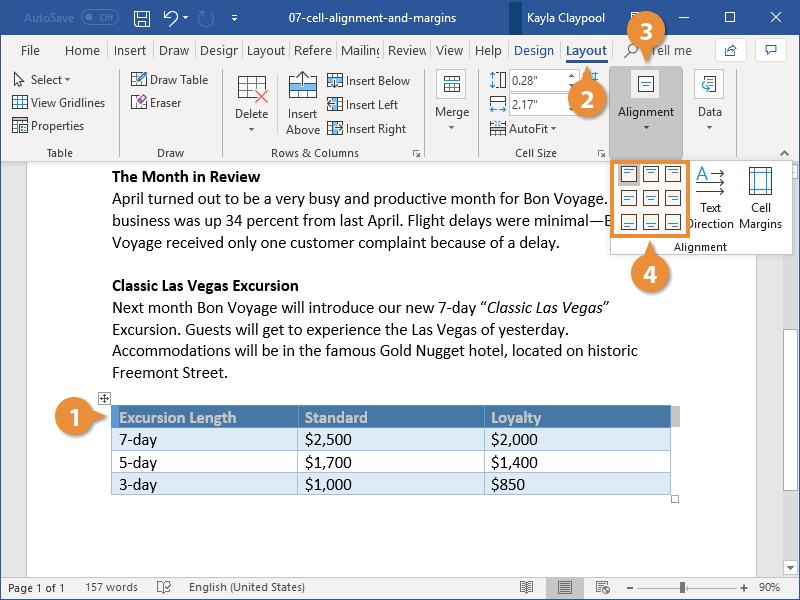
You could also select the entire table if you want to align all the text together.
There are nine alignment options, letting you align the content to either side of a cell, any corner, or center it in the middle of the cell.
The text in the selected cell realigns to the selected side or corner.
You can also select Text Direction to change the text from left-to-right to top-to-bottom or bottom-to-top.
Add Cell Margins
You can also adjust the margins between cell borders and the text within those cells.
- Select cell or cells you want to adjust.
- From the Layout tab, expand the Alignment group, if necessary.
- Click the Cell Margins button.
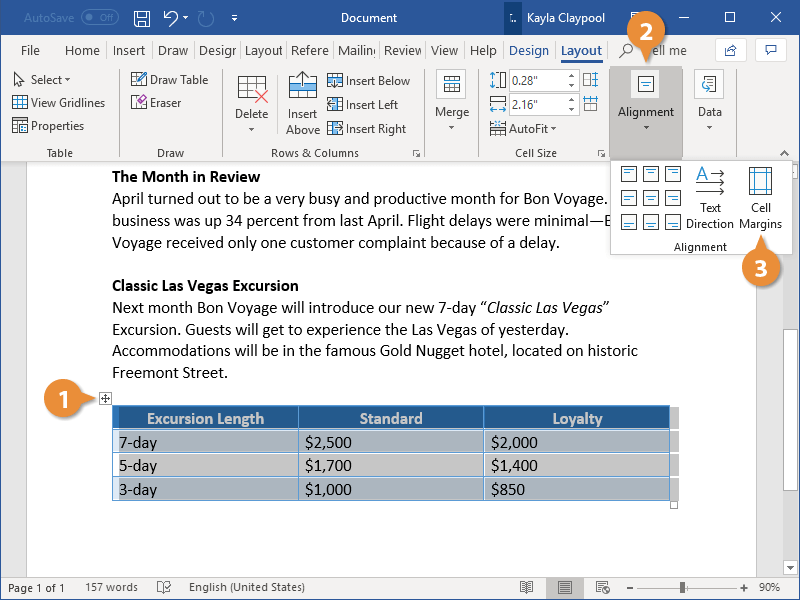
- Adjust the margins.
- Click OK.
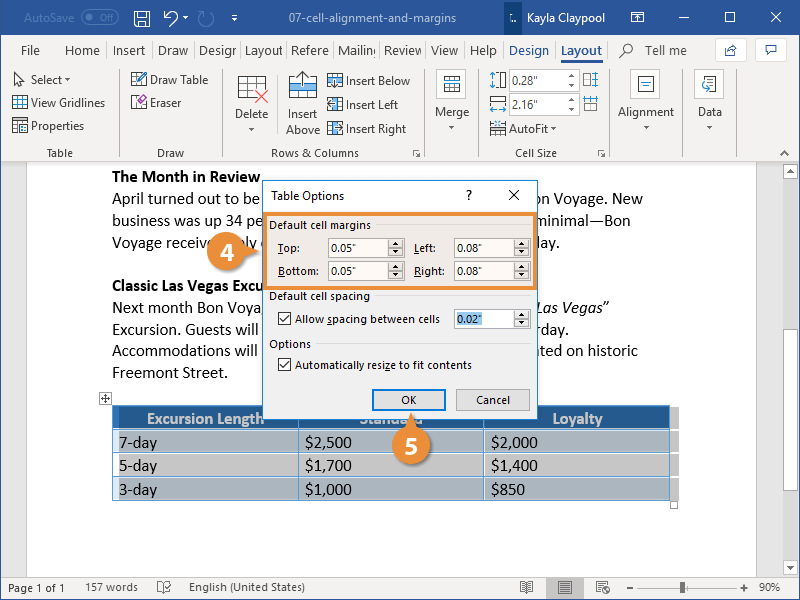
You can select the entire table to adjust all the margins at once.
In the Table Options dialog box, we can adjust the margins for the selected cell or cells. The margin affects how much space there is between the edge of the cell and the contents of that cell.
You can adjust the margin on each side of the cell independently.
The cell margins are changed.
Table Borders and Shading
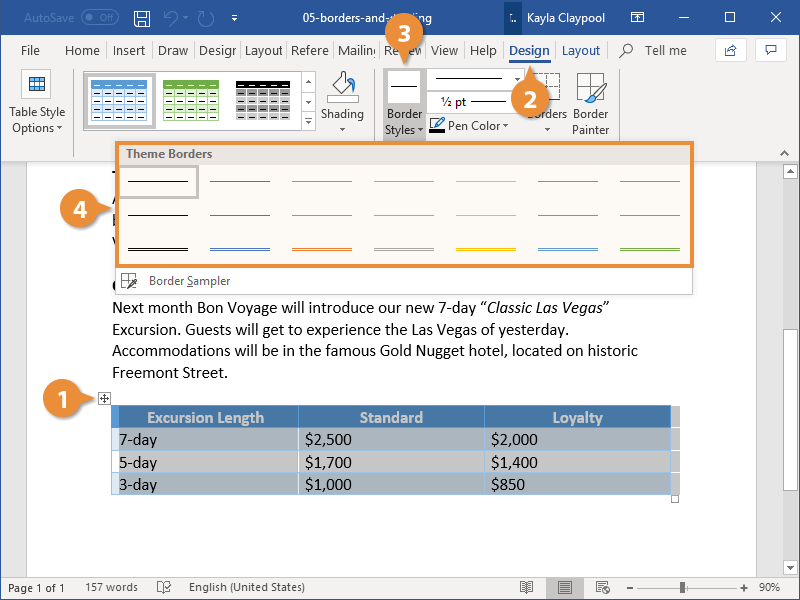
Add a Border
- Select a cell, multiple cells, or the whole table.
- Click the Design tab in the Table Tools ribbon group.
- Click the Border Styles list arrow.
- Select a border style.
- Click the Borders list arrow.
- Select the borders you want to add.
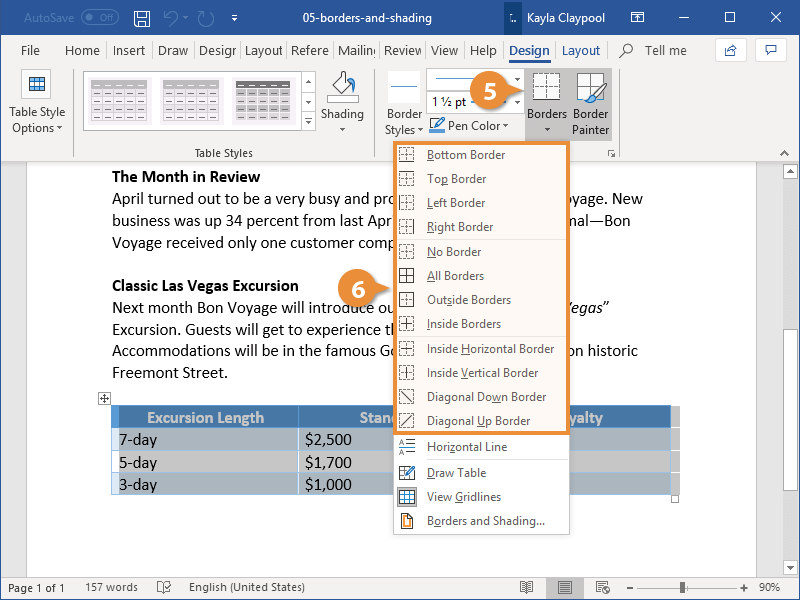
Borders will only be added to the cell or cells you have selected.
Before applying a border, you need to specify the border style. You can individually select a line style, weight, and color, or use an existing border style.
This menu shows a few borders included in the document theme, in a variety of colors and line styles.
Now that you’ve selected a border style, choose which borders to apply that style to.
This menu shows which borders the style can be applied to. You can select All Borders or a subset.
The selected border style is applied to the selected borders.
Select No Borders from the Borders menu to remove borders from the selected cells.
Add Cell Shading
Shading includes fill colors and patterns that you can apply to table cells.
- Select the cell or cells you want to add shading to.
- Click the Shading list arrow in the Table Tools Design tab.
- Select a color.
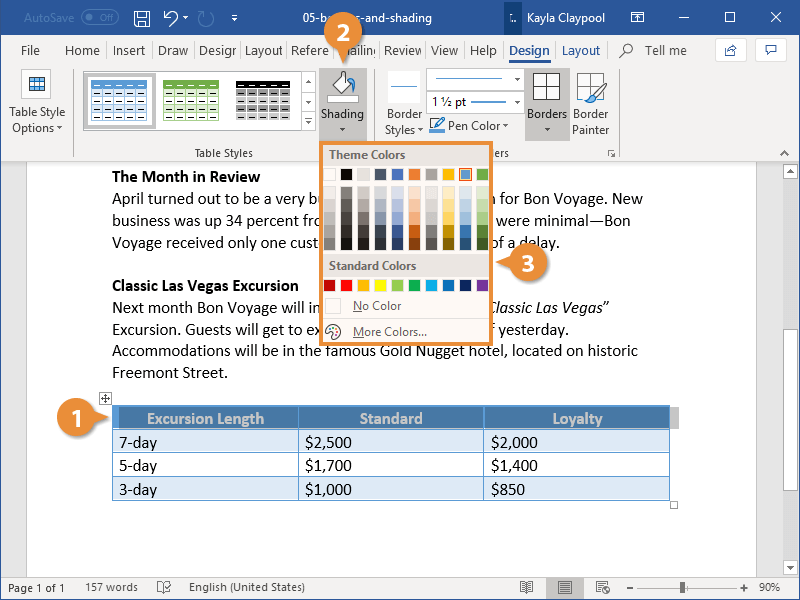
The shading menu will show a spectrum of colors from the current document theme as well as a few standard colors. You could also select More Colors to select a custom color or select No Color to remove existing shading.
The color is added as a background to the selected cells.
To use a pattern instead of a solid color in your table, click the Borders group dialog box launcher, click the Shading tab, and select a pattern in the Style list.
Position a Table
Align a Table
You can position a table the same way that you position regular text, using the alignment controls.
- Select the table by clicking the Move handle (
 ) that appears above the top left corner of the table.
 - Select an alignment option in the Paragraph group on the Home tab.
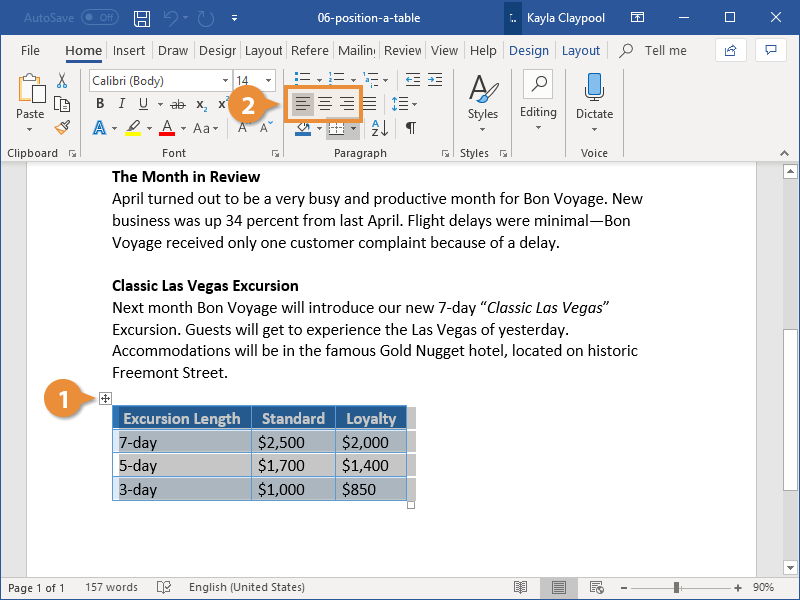
It’s important that the whole table is selected. If only certain cells are selected, the text in those cells will be aligned instead of the table.
The table is aligned to the left, center, or right margin of the page, just like text would be.
Move a Table
If the basic alignment options don’t position the table where you want it to be, you can move the table around the page manually.
- Click the table’s Move handle () and drag it to where you want to move the table.
The table moves, and the text on the page moves around to make room.
Adjust Text Wrapping
Text wrapping controls how text in your document flows around a table.
- With the table selected, click the Layout tab in the Table Tools ribbon group.
- Click Properties.
- None will clear the areas to the left and the right of the table.
- Around will let the text wrap around the table on the left and right sides.
- Make your text wrapping selection.
- Click OK.
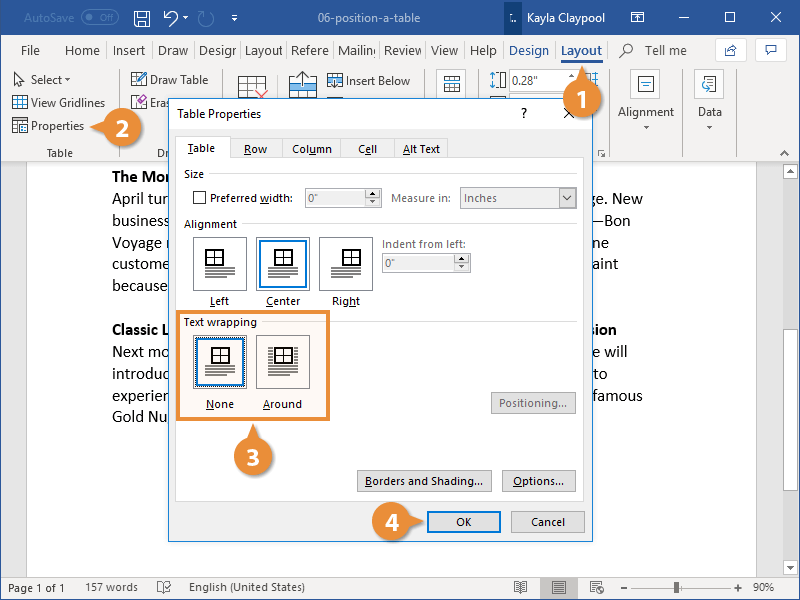
In the Text Wrapping section of the dialog box, you can choose from two text wrapping options.
The text wrapping is changed to the selected setting.
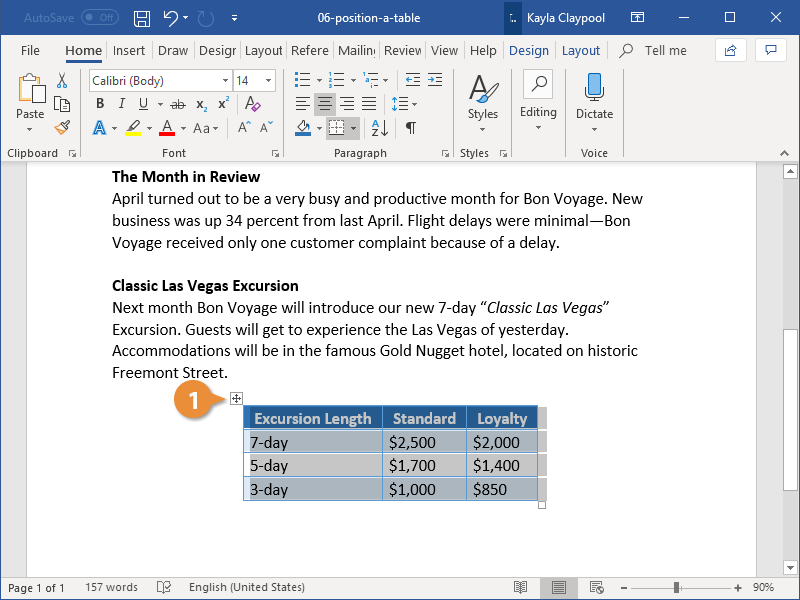
Resize a Table
You can also easily resize a table to fit within a certain space.
- Click and drag the Sizing box in the bottom-right corner of the table to make your table larger or smaller.
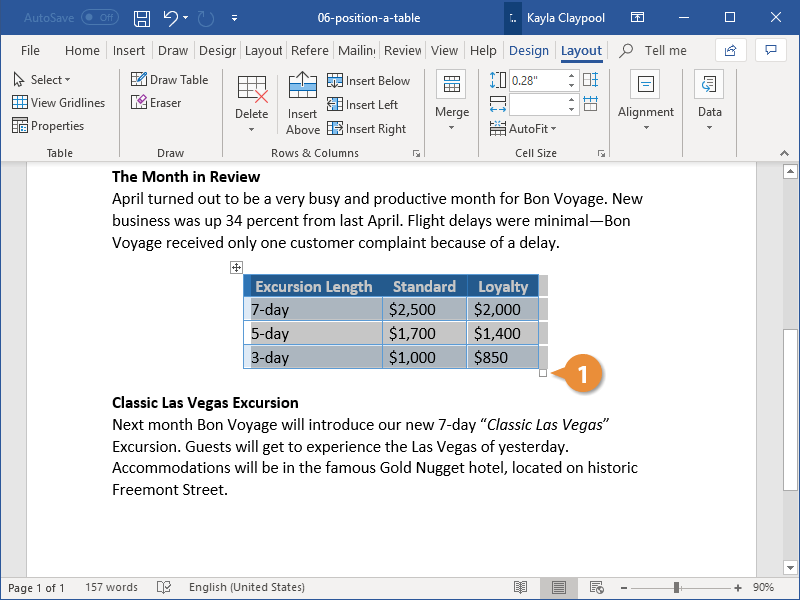
The table is resized, with the columns and rows resizing proportionally.
You can also specify a preferred table width, but not height, in the Table Properties dialog box.